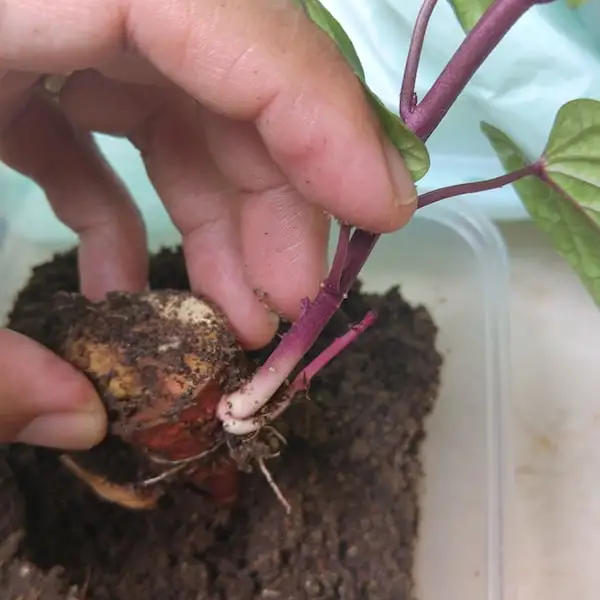
Growing sweet potato in the Japanese way involves a blend of traditional and modern techniques that focus on both soil preparation and cultivation practices to achieve high yields and quality. Here’s a guide on how to grow sweet potatoes using Japanese methods:
1. Selecting the Variety for sweet potato
- Choose Varieties: Japan has several sweet potato varieties known for their unique flavors and textures. Varieties like Satsumaimo (a popular type) are commonly grown. Choose a variety suited to your climate and soil type.
2. Soil Preparation for sweet potato
- Well-Drained Soil: Sweet potatoes thrive in well-drained, sandy loam soils. Avoid heavy clay or waterlogged soils.
- Soil pH: Aim for a soil pH between 5.5 and 6.5. You can adjust the pH by adding lime if it’s too acidic or sulfur if it’s too alkaline.
- Organic Matter: Incorporate plenty of organic matter like compost or well-rotted manure into the soil to improve fertility and drainage.
3. Planting for sweet potato
- Start with Slips: Sweet potatoes are usually grown from slips (young shoots) rather than seeds. You can either buy slips or grow your own by sprouting sweet potatoes in a warm, sunny location.
- Planting Time: Plant sweet potato slips after the last frost date when the soil temperature reaches about 65°F (18°C). In Japan, planting typically occurs in late spring.
- Spacing: Space slips about 12-18 inches apart in rows that are 3 feet apart. This allows ample space for the vines to spread and develop tubers.
4. Growing Conditions
- Sunlight: Sweet potatoes need full sun to grow well. Ensure the planting site receives at least 6-8 hours of sunlight daily.
- Watering: Keep the soil consistently moist but not waterlogged. Sweet potatoes need regular watering, especially during dry periods, but avoid overwatering.
5. Maintenance
- Weed Control: Regularly remove weeds that compete with sweet potatoes for nutrients and water.
- Mulching: Apply mulch around the plants to retain moisture, control weeds, and regulate soil temperature.
- Fertilization: Sweet potatoes generally don’t require heavy fertilization. However, you can apply a balanced fertilizer or compost before planting and again halfway through the growing season if needed.
6. Pest and Disease Management
- Monitor for Pests: Watch for common pests like sweet potato weevils or aphids. Use appropriate organic or chemical controls as necessary.
- Disease Management: Prevent diseases like Fusarium wilt and root rot by ensuring good drainage and practicing crop rotation.
7. Harvesting
- Timing: Harvest sweet potatoes before the first frost. Typically, they are ready for harvest 90-120 days after planting, depending on the variety.
- Harvest Carefully: Use a garden fork or spade to gently lift the tubers from the soil, being careful not to damage them. Sweet potatoes are delicate and can bruise easily.
8. Curing and Storage
- Curing: After harvesting, cure sweet potatoes in a warm, humid environment for about 10-14 days to enhance their sweetness and flavor. A shed or a warm room can be used for this purpose.
- Storage: Store cured sweet potatoes in a cool, dry place. They can be stored for several months if kept in ideal conditions.
Tips from Japanese Practices
- Mound Planting: Some Japanese growers use mound planting to improve drainage and control soil temperature. Forming small hills or mounds for planting can be beneficial.
- Traditional Varieties: Experiment with traditional Japanese sweet potato varieties if you can source them, as they are adapted to local growing conditions and may have unique flavors.
By following these steps and incorporating traditional Japanese techniques, you can successfully grow sweet potatoes with excellent results.


