Introduction
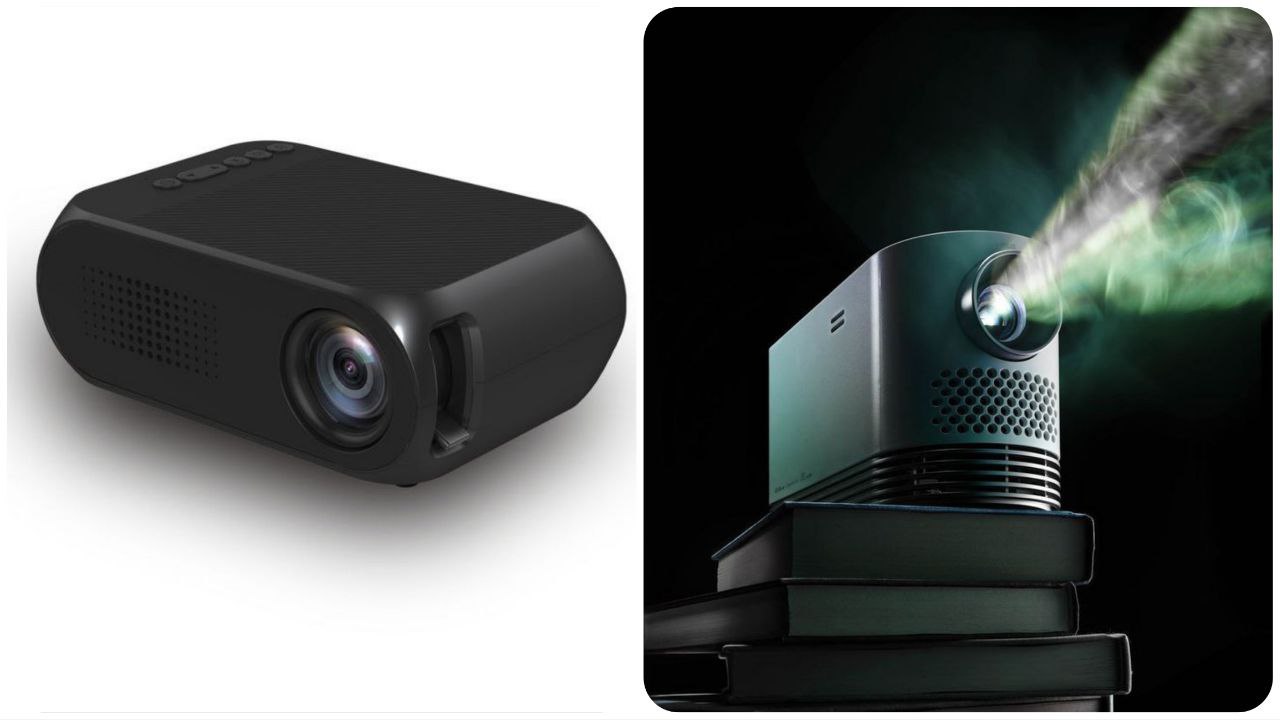
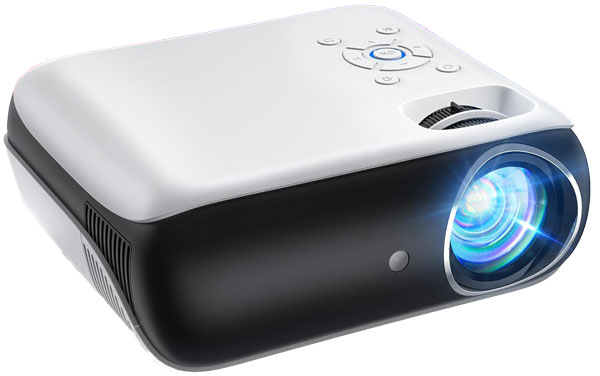
Projectors are versatile tools used in a variety of settings, from business presentations to home theaters and classrooms. With the advancement of technology, different types of projectors have emerged, each designed for specific needs and environments. This guide will take you through the steps of using different types of projectors, ensuring you get the best experience no matter the scenario.
1. Understanding the Types of Projectors
Before diving into the steps of using a projector, it’s essential to understand the different types available. Here’s a brief overview:
- DLP Projectors: Known for their sharp images and vibrant colors, DLP (Digital Light Processing) projectors are commonly used in cinemas and home theaters.
- LCD Projectors: These projectors offer clear and bright images, making them ideal for business presentations and educational purposes.
- LED Projectors: Energy-efficient and portable, LED projectors are popular for small-scale home use and presentations on the go.
- Laser Projectors: Offering high brightness and long life, laser projectors are perfect for large venues and outdoor events.
2. Choosing the Right Projector for Your Needs
Selecting the right projector depends on several factors, including:
- Purpose: Determine whether you need a projector for movies, presentations, gaming, or large events.
- Environment: Consider the lighting conditions of the room or venue where you’ll be using the projector. Brighter rooms may require a projector with higher lumens.
- Portability: If you need to move the projector frequently, opt for a lightweight and compact model.
3. Setting Up Your Projector
Once you’ve chosen the right projector, follow these steps to set it up:
- Unbox and Inspect: Carefully unbox your projector and check for any visible damage. Ensure all accessories, such as remote control, cables, and manuals, are included.
- Position the Projector: Place the projector on a stable surface or mount it on the ceiling, depending on your setup. Ensure it’s aligned with the screen or wall where the image will be projected.
- Connect to Power: Plug the projector into a power source using the provided power cable. Ensure the power source is stable to avoid interruptions.
- Connect Input Devices: Depending on your projector, connect input devices such as laptops, DVD players, or gaming consoles using HDMI, VGA, or USB cables. Wireless connections are also available in modern projectors.
- Turn On the Projector: Power on the projector by pressing the power button on the device or using the remote control. Allow a few moments for it to warm up.
4. Adjusting the Image
To ensure a clear and well-aligned image, follow these steps:
- Focus Adjustment: Use the focus ring or lever on the projector to adjust the sharpness of the image until it appears clear.
- Keystone Correction: If the image appears trapezoidal, use the keystone correction feature to make it rectangular. This adjustment can usually be done through the projector’s menu or with dedicated buttons.
- Zoom and Size Adjustment: Adjust the zoom to fit the image to your screen or wall size. Some projectors also allow you to adjust the aspect ratio to match your content.
5. Optimizing Picture Quality
For the best viewing experience, consider the following:
- Brightness Settings: Adjust the brightness level according to the room’s lighting. In darker environments, lower brightness can reduce eye strain.
- Color Settings: Explore the color settings to enhance the vibrancy and accuracy of the projected image. Some projectors offer preset modes for movies, presentations, and gaming.
- Sound Configuration: If your projector has built-in speakers, adjust the sound settings. For better audio quality, consider connecting external speakers or a sound system.
6. Using Advanced Features
Modern projectors come with a range of advanced features that enhance functionality:
- Wireless Connectivity: Use Wi-Fi or Bluetooth to connect to devices without the need for cables.
- Smart Features: Some projectors have built-in operating systems, allowing you to stream content directly from apps like Netflix or YouTube.
- 3D Projection: If your projector supports 3D, ensure you have the necessary glasses and content to enjoy immersive viewing.
7. Maintenance and Care
To prolong the life of your projector, follow these maintenance tips:
- Regular Cleaning: Dust the projector regularly and clean the lens with a soft, dry cloth to maintain image clarity.
- Proper Storage: When not in use, store the projector in a cool, dry place. Use the protective cover or case if provided.
- Lamp Replacement: For projectors with replaceable lamps, monitor the lamp life and replace it as needed to maintain brightness and picture quality.
Conclusion
Using different projectors effectively requires understanding their types, proper setup, and making the right adjustments for your environment. By following this step-by-step guide, you’ll be able to maximize the performance of your projector, whether you’re watching a movie, delivering a presentation, or hosting a large event. With the right knowledge and care, your projector will serve you well for years to come.

